Older models of ceiling fans used to have pull chains and the consumers have to use a pull chain to control the lights and fan, turn them on or off, adjustments etc. in this modern age of home automation, these pull chain ceiling fans are obsolete and inconvenient. A lot of house owners want to upgrade their ceiling fans to make their life easier and manufacturers are also noticing it.
Universal remotes will work on ceiling fans because the modern models of ceiling fans come with sensors to control the fans via a handheld remote. Additionally, the customers can also control fans using the phone app if they have installed a receiver for it.
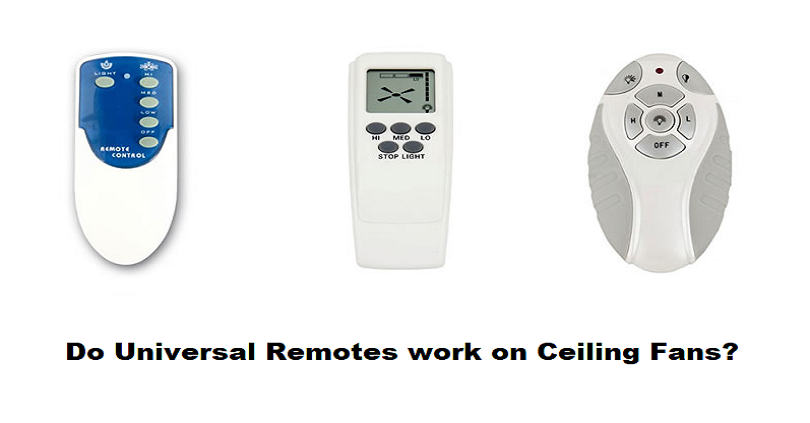
To get more information about remote-controlled ceiling fans and how to control a pull-chain fan with a universal remote, you need to go through this post.
How Do Universal Ceiling Fan Remotes Work?
These days, ceiling fans are designed with upgraded built-in receivers. Remote controls that are added in the package are programmed to the fans. This helps the users to control the fan’s speeds and lights without using a switch or pull-chain. Older ceiling fans did not have these built-in receivers, but users can still turn their pull chain fan into a remote-controlled fan by getting a universal ceiling fan remote kits.
A universal ceiling fan remote transmits a signal to a receiver that is installed in the canopy of a ceiling fan. The signal from the remote connects to the receiver and “orders” what to do.
Universal remotes are also compatible with newer ceiling fans if the ceiling fan’s original remote is misplaced or broken. However, before getting one, you need to confirm if it is working with your brand of a ceiling fan.
Recommended: How can you turn a ceiling fan on/off if the remote is broken?
Use Universal Remotes With Old Ceiling Fans
As I discussed above, to turn a regular ceiling fan into a remote controlled fan, you have to get a separate receiver and remote kit.
For this process, my recommendation is LPHUMEX Universal Ceiling Fan Remote Kit. This item has a fan and light speed levels along with a timer. The product is also compatible with top ceiling fan brands on the market.
How To Install a Universal Remote Receiver
After buying the kit, the next step is to install the receiver and then program the remote. The process needs basic electrical and technological skills, as it requires the changing of wiring in the fan in order to install the receiver.
Follow the steps below to install a universal ceiling fan remote receiver for your fan:
- Switch on the fan’s power setting and take it to the highest speed. If the fan contains an included light, you need to make sure that the power is in the “On” position.
- Turn off the wall switches that manage the fan. Switch off the supply to the fan by turning off the breaker from the main power supply.
- Remote the cover (canopy) covering the ceiling fan. You will need a screwdriver to do this, to remove the screws that attach the canopy to the fan.
- Change or adjust the DIP switch settings on the receiver. Note down the numbers you use.
- Fix the receiver into the base of the ceiling fan. To wire the receiver into the fan, you need to check the instructions of the manufacturer. In some cases, you will not be able to use all the wires.
- Reattach and canopy and secure it. Secured all the screws tightly.
- Add new batteries to the remote. Make the installation of the batteries correct and check that the lights on the remote are working.
- Switch on the breaker again. Switch on the wall switches if you turned off them that adjust the fan and light.
- Adjust the remote’s DIP switch settings. These settings need to be similar to the DIP switch settings that are noted down in step four.
- Program the remote to the receiver. The receiver kit comes with the programming instructions, make sure to use them. Usually, it is sufficient to adjust the DIP switch settings to pair the two devices, but sometimes it may need extra steps, depending on the maker.
- Make sure that everything works smoothly. After installation of everything correctly and programming, you can start using the unit instantly.
Troubleshooting a Remote-Controlled Ceiling Fan
If your ceiling fan or remote is not working, it is better to do some troubleshooting, below, I have compiled a few tips to do it:
Check the Power
The first thing is to make sure that the batteries are working. If they are not working, replace them with new ones and try again.
If the batteries are working, examine the wall power switches for the fan as well as the light. You need to make sure that they both are in “On” position. At all times, it should stay in the “On” position or the power will not reach the fan and lights.
Recommended: Does a ceiling fan with remote need a wall switch?
Reprogram the Universal Remote
After making sure the batteries and power switches are fine, try to program the remote control again. Follow the guidelines below:
- Press the reset button on the remote by using a small pin.
- To reprogram the remote, read the manufacturer’s instructions.
Check the Frequency Settings
After checking the batteries, and the power switches, and reprogramming the remote to the receiver, if the ceiling fan is still not working, then you need to see the frequency settings. It needs some disassembly. These are the steps you need to follow:
- Check the DIP switch by removing the canopy on the ceiling fan.
- You need to make sure that the numbers are similar to the DIP switch numbers on the universal remote.
- You can also change the DIP switch numbers if you want to with the help of a ballpoint pen and gently sliding the sliders to create a new “code.”
- Again, note down the code and change the code on the remote so that they are on the same.
- Check all the connections are secure and check for any loose wires and put back the canopy.
If none of these solutions fix it, contact the receiver/remote kit manufacturer for more details.
Ceiling Fans and Home Automation
Some new ceiling fans are equipped with WiFi and Bluetooth features. This helps the users to connect their fans to smart devices including Alexa and Google Nest. Some of them can also be controlled by a smartphone.
Hunter is another brand that offers smart ceiling fans to connect them to smart home systems. Haiku, a brand of ceiling fans that has Wi-Fi features.
You can turn your smartphone into a universal remote due to this advancement in ceiling fans. it requires the downloading of the app recommended by the manufacturer of the fan and linking the device via Bluetooth or Wi-Fi.
Now, you can turn on or off your ceiling fan from there. Some apps have the features to schedule the fan depending on the temperature of their homes.
Final Words
Home automation has upgraded our way of living and will continue doing it in the coming days. With advancements in technology, you can control the home appliances like ceiling fans by remote control and even from your phones With the help of technology, we can transform our older household items into smart home devices via special adapters. A basic tech skill is required to use a universal remote with a ceiling fan but a ceiling fan that can be controlled from a remote, phone or smart home device is worth investing the time to install it.