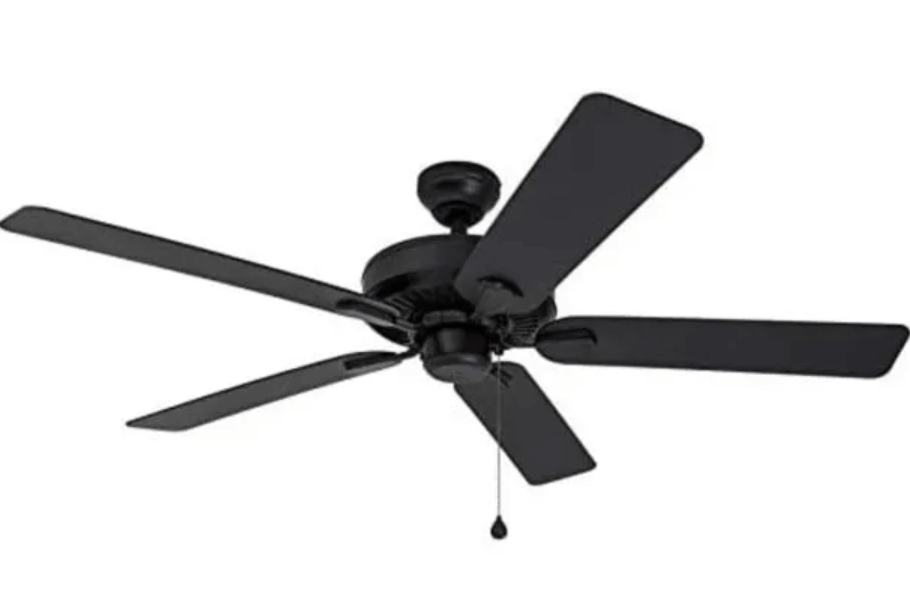
It will be an easy task to switch on your Harbor Breeze ceiling fan without leaving your sofa or bed by simply using a remote control. The remote control activation will help you to adjust the fan’s speed and lighting’s brightness. Installing a Harbor Breeze ceiling fan remote control receiver into the fan canopy can be a DIY task if you have few tools. The receiver is connected to the canopy of the fan. some of them are usually wired to the wall and need some extra steps.
Fan Motor
The function of the ceiling fan can be determined by the electric motor that has spinning motor coils. Energy goes through the fan motor capacitor and builds torque to make the fan blades work. When you access your ceiling fan canopy, there will be three main wires that connect the motor to the lighting. The black wire on the fan provides power to motor. The blue ceiling fan wire gives power to light kit/fixture. It also has a neutral (white wire) for lighting as well as motor. These wires will be connected to the new receiver of remote.
Safety is priority
When it comes to wiring, the best course of action is to test the new wire with a non-contact voltage tester before handling. Non-contact voltage testers can be purchased at hardware or home improvement stores, and they are easily available in less than $20. Before you begin with this electrical process, shut down the power to the fan first. It should be turned off from the breaker. Before you begin, get the remote receiver out of the packaging and have all tools on hand.
Exposing the Wires
You need a stepladder in order to remove the screws that hold the fan canopy and do it carefully. After removing them, put them in a secure location. Drop open the canopy to the ceiling fan motor and you will be able to come across ceiling fan wiring inside and the hanging bracket is also affixed to the ceiling fan electrical box.
Identifying the Wires
Wire connectors are twisted together. Find the white wires that link the ceiling electrical box to the fan. pull these two white wires apart. After that, focus on black and blue wires. Untwist the wires and disconnect both of them from the black electrical box wire. Avoid disconnecting the green wire.
Your purchased remote receiver will also have the same colors, black, white and blue wires as available inside the canopy. The receiver of the ceiling fan side has it, and shows the labels to let you know the motor wire, the light wire and neutral wire. the other side of the receiver will have a white and black wire that will be linked with the similar colors on the electrical box.
Matching the Wires by Color
The wires in the receiver should be connected to the wires in the electrical box. Match the wires by colors and twist a wire connector onto each pair. The black electrical box wire with same marked AC/IN on the receiver. Match and connect the black and white wires from the receiver to the electrical box. After connecting all of them, the next thing you need to do is to insert the receiver behind the hanging fan bracket.
Attach Canopy Again and Test Fan
Now, the canopy will cover the receiver as well as the electrical box. Tighten the screws in the canopy, and step down from the ladder. Turn on the electricity to test the fan. If it starts working, the next thing is to test the remote. Keep in mind that you will have to insert the batteries into the remote if required.
